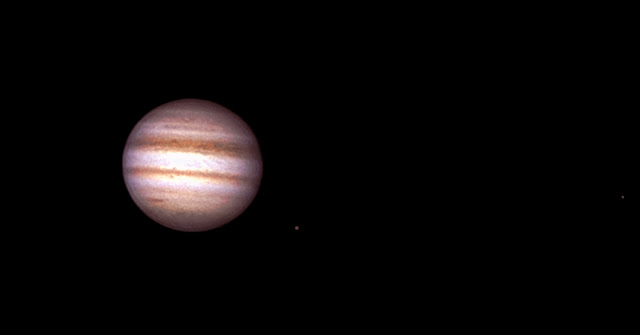
In this post I'm having a proper crack at Jupiter in Registax and Gimp, and documenting the process. The post is for process steps only - play with any and all parameters until you get the image you like! Below are all images of Jupiter produced from the same .avi capture. Which is your favourite?
I)
II)
III)
-------------------------------------------------------------------------------------------------------------
Processing steps
1) I took ~1800 (3 minutes) frames of Jupiter on Sunday 19th February 2012. The capture parameters are shown below. I used my Celestron 6SE with a Tele Vue 2.5x and my Orion Starshoot IV webcam. The video was captured with SharpCap.
[D-PEN]
Frame Divisor=1
Resolution=1280x1024
Frame Rate (fps)=10.00
Colour Space / Compression=RGB24
The gain was set very low - just enough to show a little detail. The image below is a single frame and demonstrates how the image appeared on my laptop. Still playing with the contrast/brightness etc, but set parameters that make the image look reasonable.
2) Open the video in Registax 6.
3) Align the image and hit limit.
4) Stack, set the wavelets and align RGB. Also play with the brightness and contrast..
5) Might also help to play with the histogram..
6) Autobalance for giggles?
7) Final Registax image - save as a .png somewhere
8) Open Gimp and load the image. Adjust the levels
9) Adjust brightness and contrast
10) Despeckle the image (in filters)
11) Unsharpen mask (in fliters)
12) Adjust the colour balance
13) Adjust hue and saturation


No comments:
Post a Comment